
 Scheduling
Booking a Meeting From Inside a Chat
Drop a booking card into any chat conversation - the customer picks a time right inside the widget and the booking is confirmed without leaving the chat.
When you’re in a conversation and you want to schedule a call, you can send a booking card directly in the chat. The customer picks a time right there in the widget - no need to copy a link or switch tabs.
Sending a booking card
- Open a conversation in your inbox.
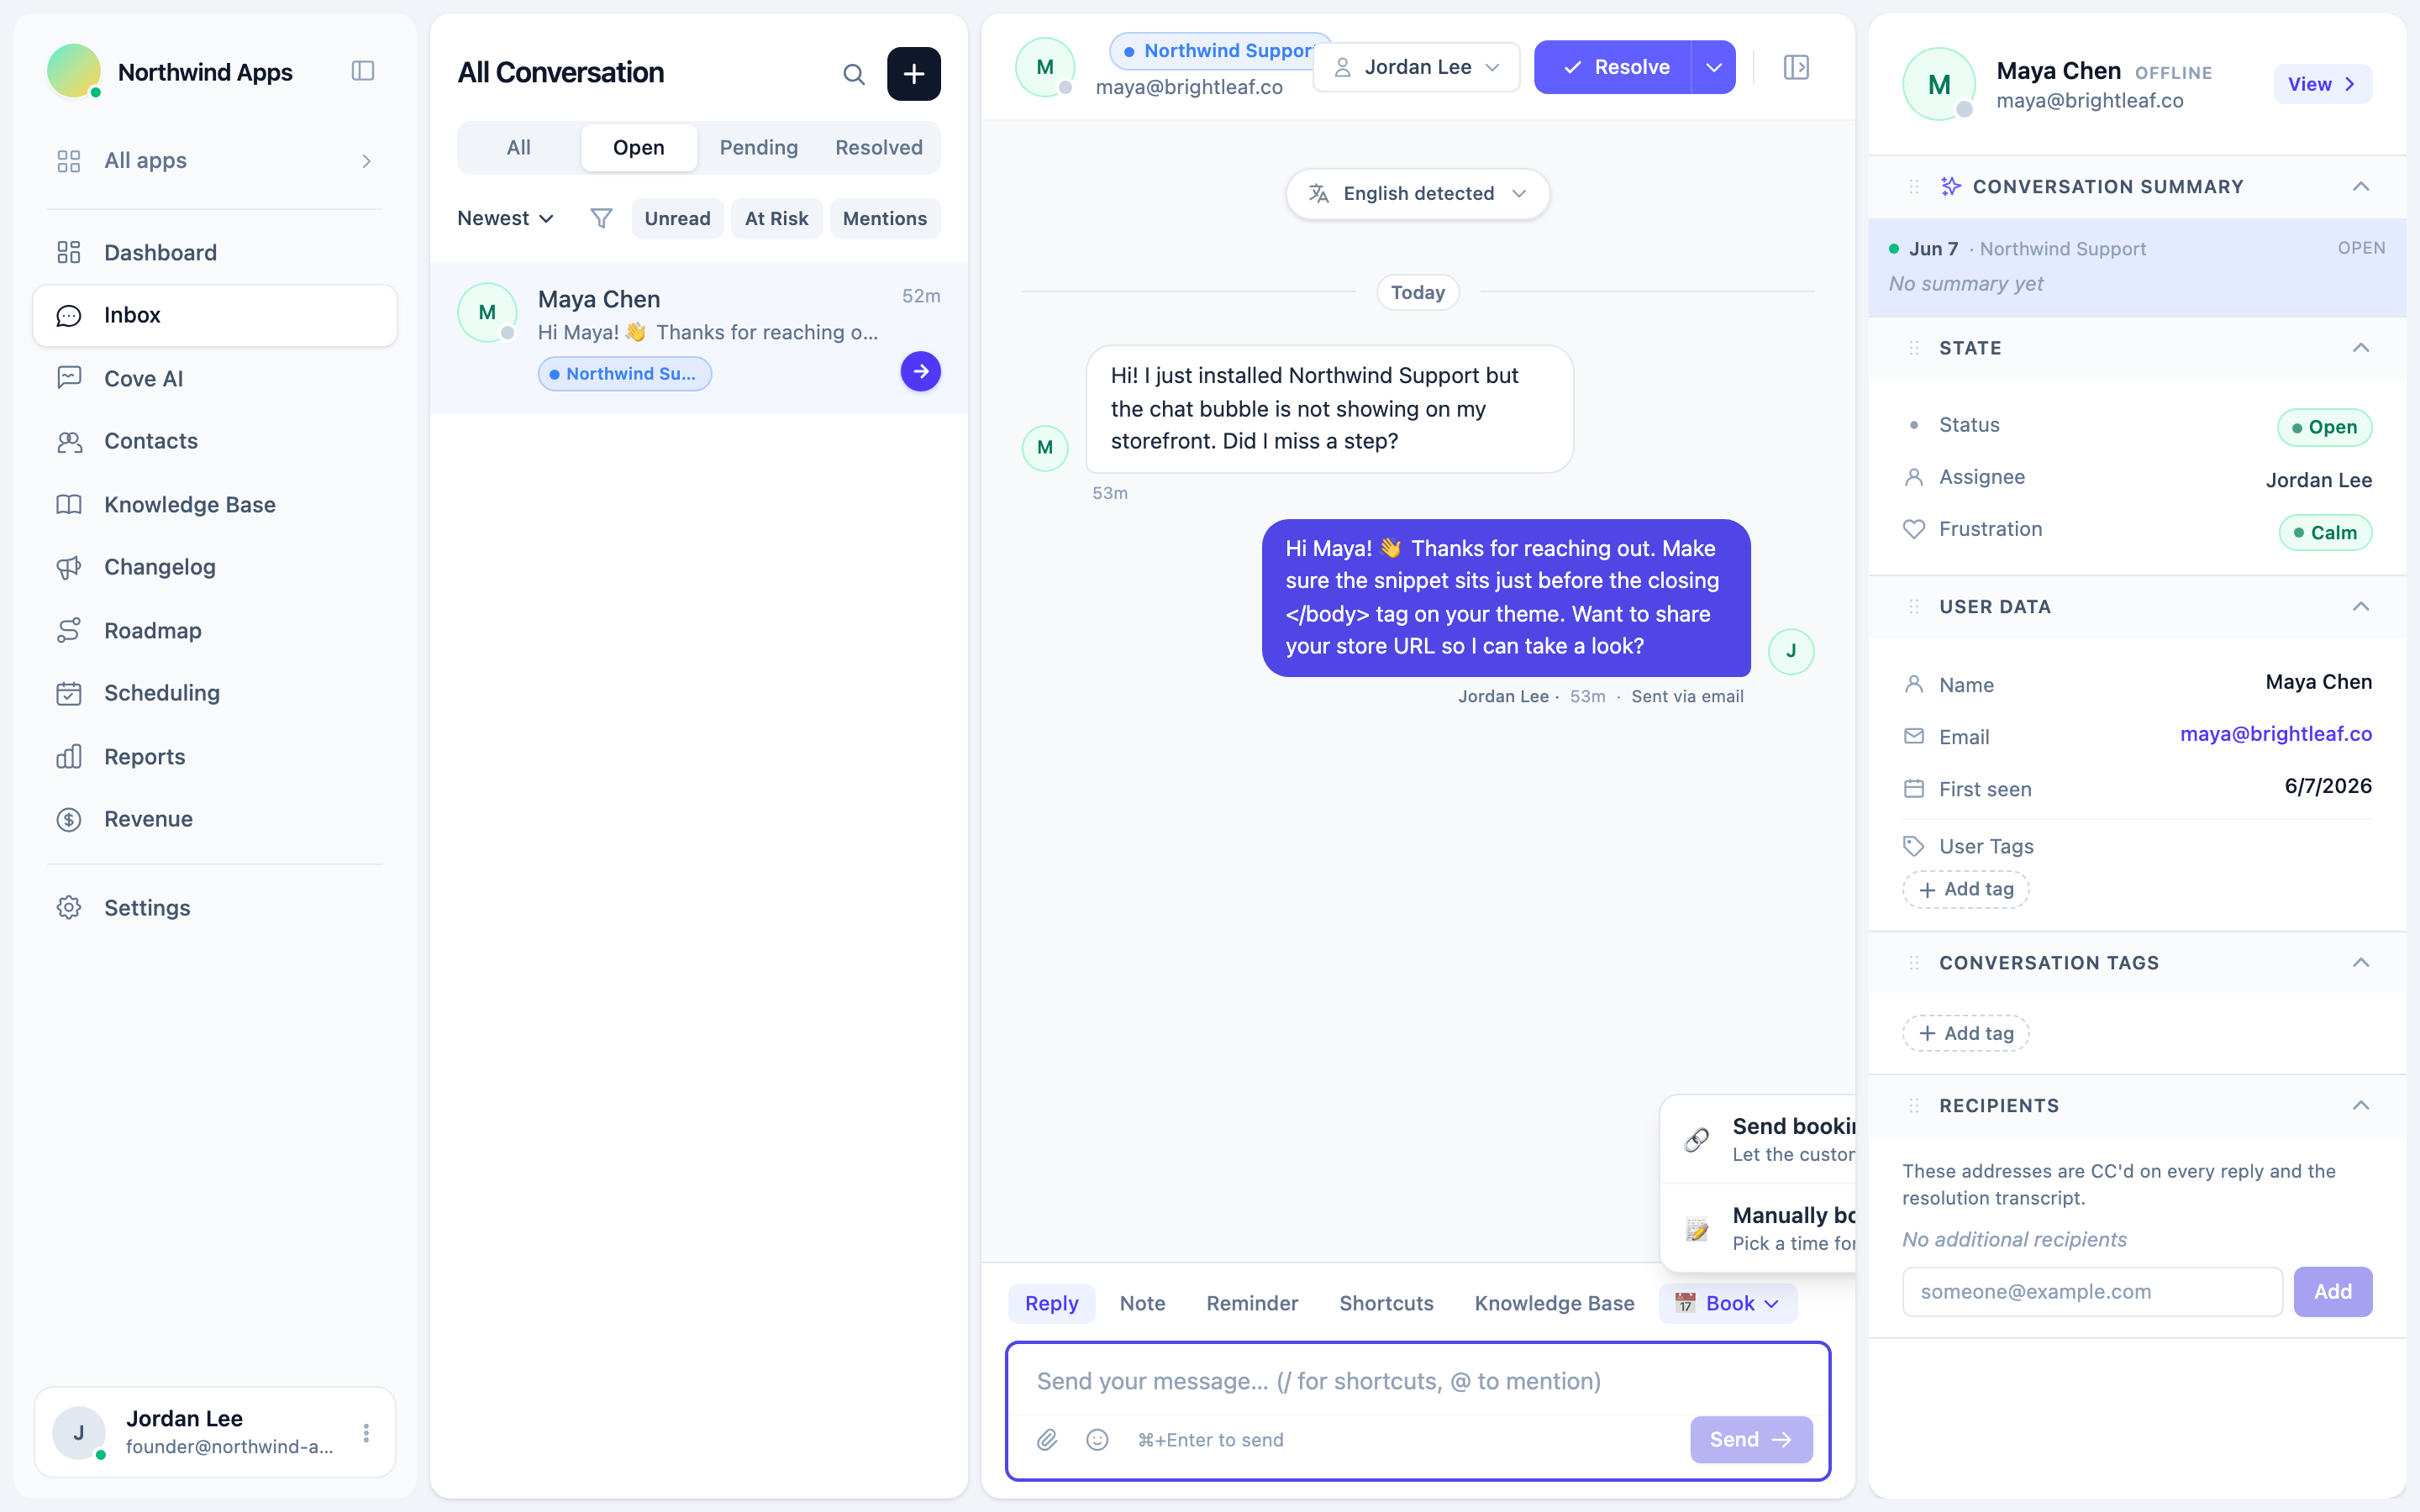
- In the message composer, click the scheduling icon (a calendar icon in the toolbar) or look for the “Send booking link” option.
- Pick the meeting type to offer (e.g. “30-min Support Call”).
- Send. A booking card appears in the conversation for the customer.
Scheduling must be enabled and you must have at least one active meeting type before the booking card option appears in the composer.
What the customer sees
A booking card appears in their widget as a message. They can expand it to:
- See the meeting type name, duration, and description.
- Browse available time slots.
- Pick a slot and enter their details (name, email, any custom fields).
- Confirm the booking.
Once they book, a confirmation appears inline in the chat. Both the customer and your team receive the booking confirmation email.
After the booking
The booking appears in your Scheduling → Bookings tab, associated with the conversation. You can reschedule, cancel, or resend the confirmation from there.
The conversation also shows a scheduling event message: a small card that confirms the booking was made, with the date and time.
Limitations
- One booking card per send. If the customer doesn’t use the first one, you can send another.
- The booking card uses your organization-wide availability settings - it doesn’t override per-conversation availability.
Next steps
Was this article helpful?
Thanks for your feedback!