
 Scheduling
The Public Booking Page
Your public booking page lets customers pick a meeting type, browse available slots, and confirm a booking on your branded help center domain, or embedded on your own website.
Your public booking page is a hosted page where customers can browse your meeting types, pick a slot, and confirm a booking - all on your help center domain, no extra tool needed.
Where it lives
The booking page is at:
https://<your-slug>.convot.help/en/book
Or on your custom domain:
https://help.yourapp.com/en/book
Find and copy the link from Settings → Apps → [your app] → Public site.
The booking page is off by default. Go to Settings → Apps → [your app] → Public site and toggle on the Booking section to make it live.
Linking to a single meeting type
By default the page lists every active meeting type. To send someone straight to one specific type - for example landing enterprise leads on your “Enterprise demo” instead of the full list - add ?type=<slug> to the booking URL:
https://help.yourapp.com/en/book?type=enterprise-demo
The slug is the meeting type’s URL handle (shown when you edit the meeting type). If the slug doesn’t match, the page gracefully falls back to showing all types. Pair this with a per-type team notification toggle so, say, enterprise bookings ping your team while routine ones stay quiet.
When the page has only one meeting type to show (either because you only have one, or because the link uses ?type=), the meeting list is skipped and customers land directly on the available times.
What customers see
- The page lists your active meeting types with name, duration, and description.
- The customer picks a meeting type. (If there is only one, this step is skipped.)
- A calendar appears showing available slots in the customer’s local timezone.
- The customer picks a slot and fills in the booking form (name, email, any custom fields you’ve configured on the meeting type).
- They confirm. A confirmation page appears and they receive a confirmation email with the meeting details, calendar invite, and reschedule/cancel links.
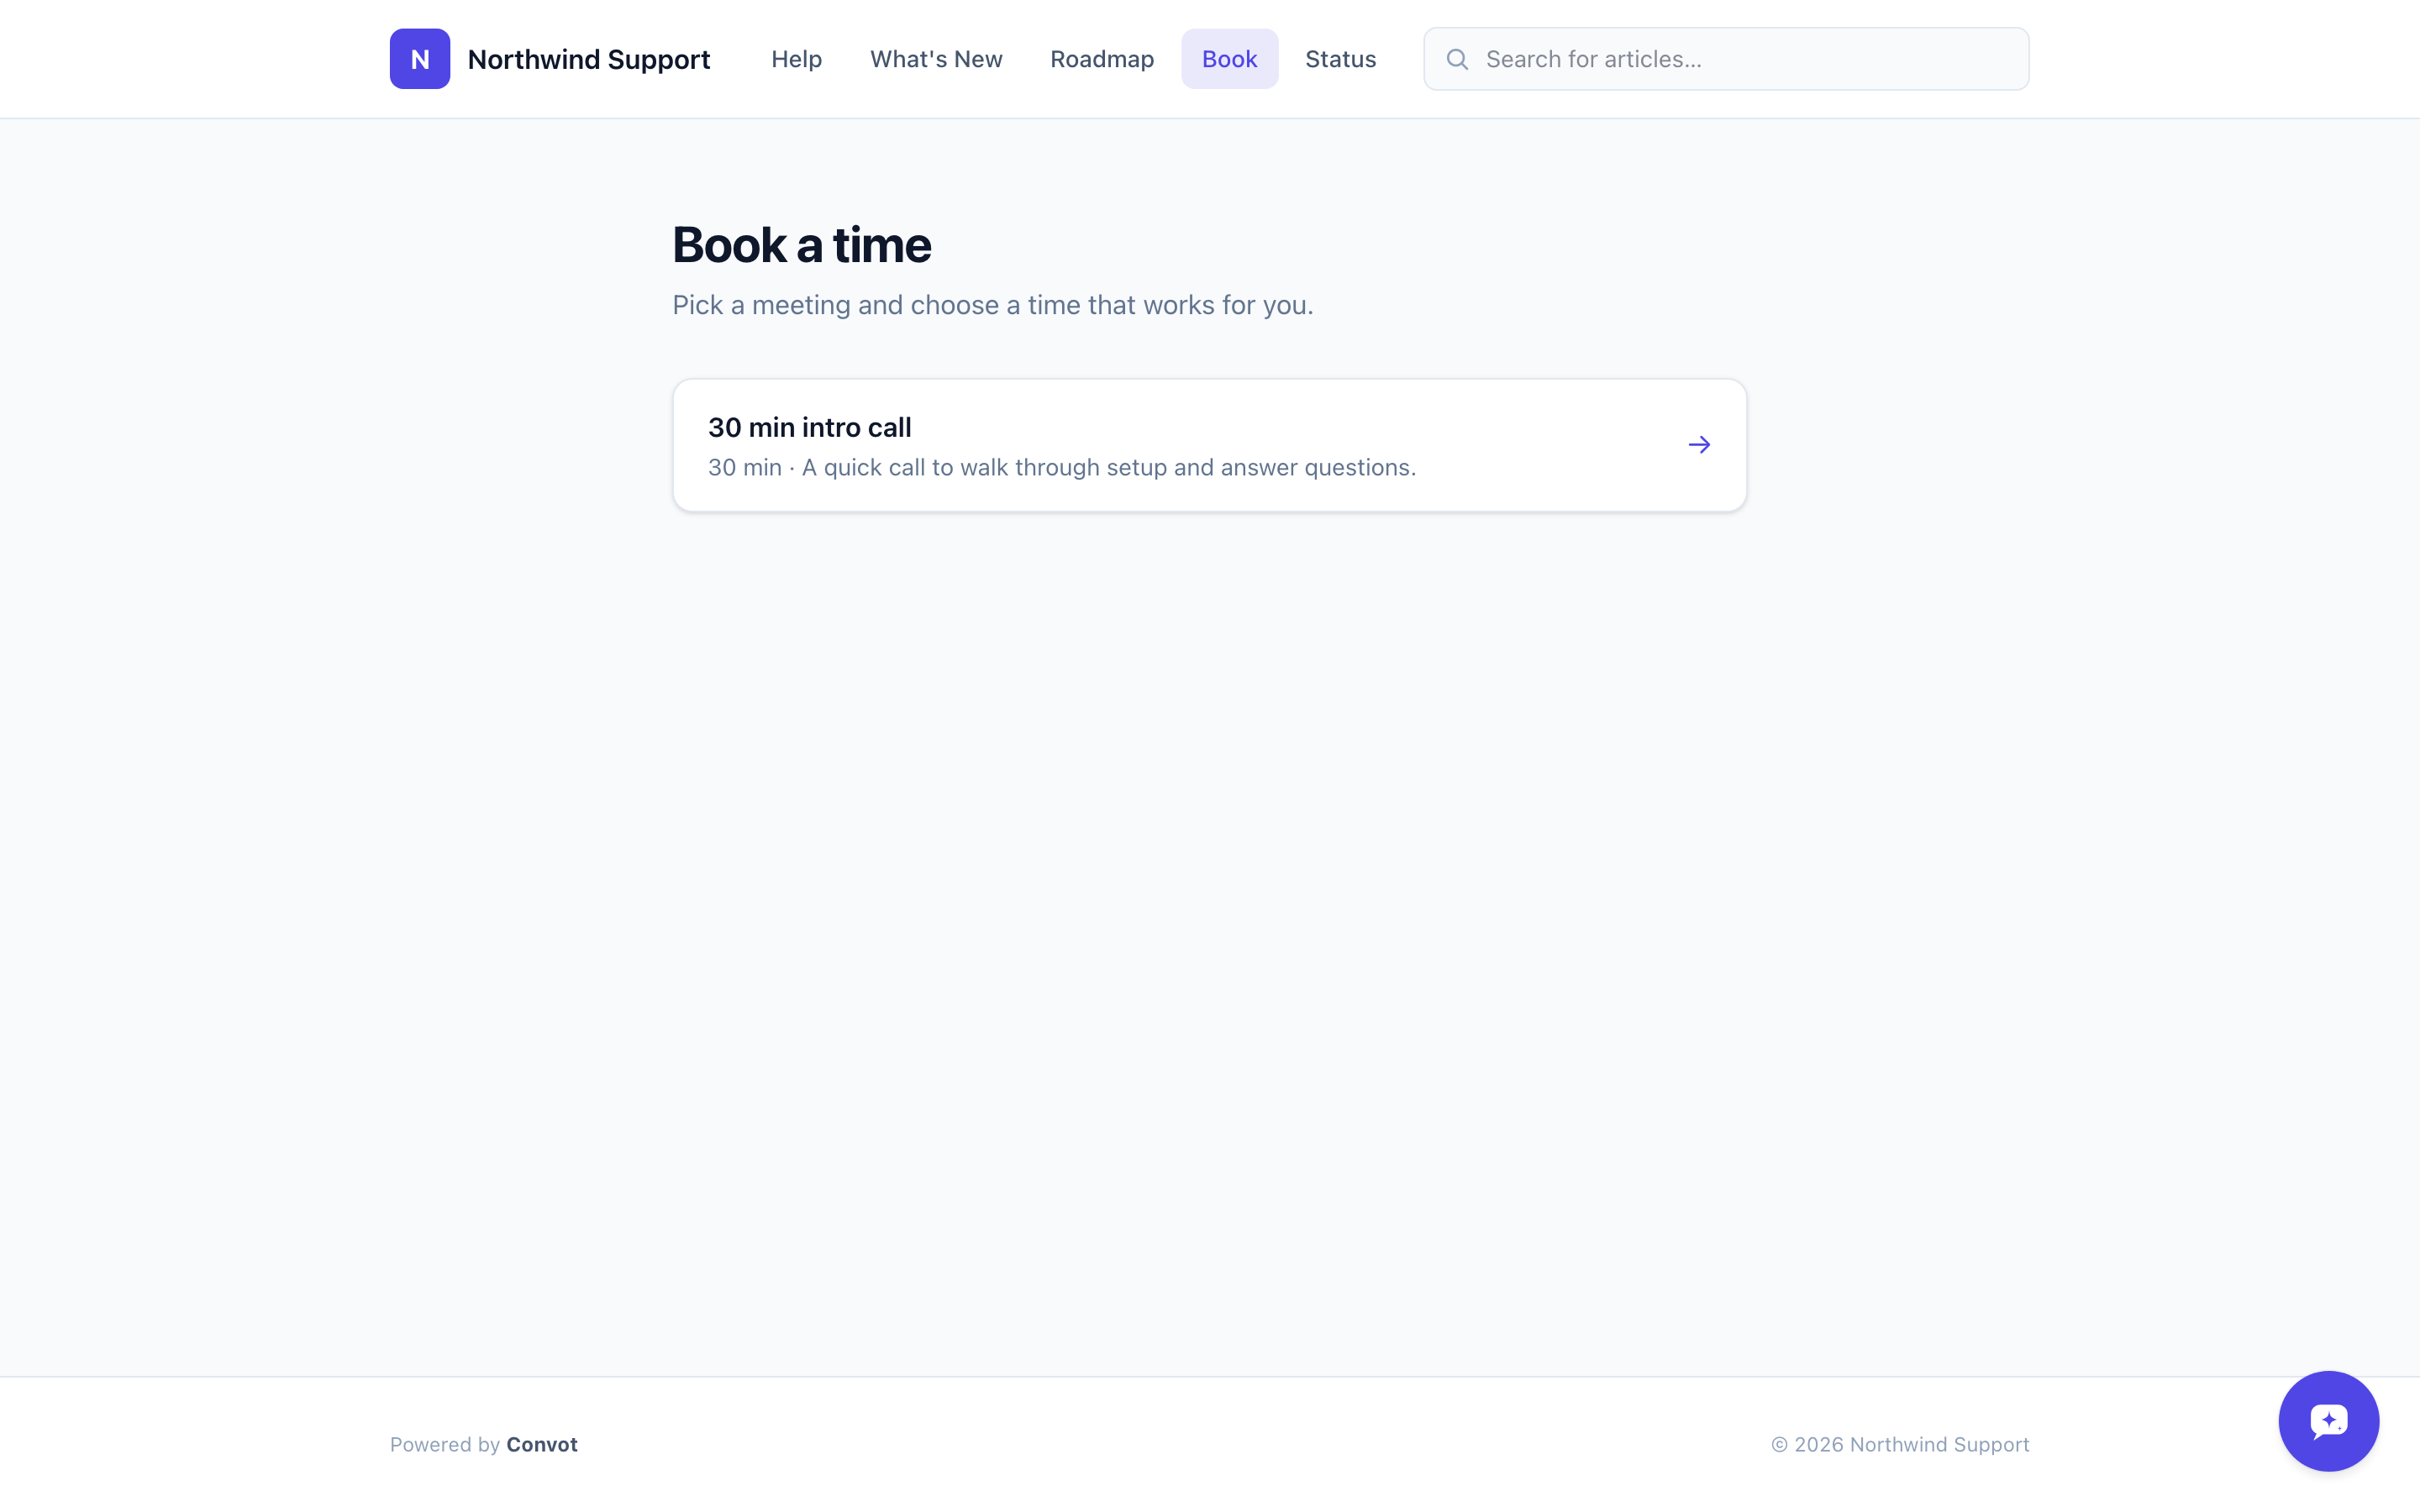
Sharing the link
Put the booking link anywhere your customers might want to schedule a call:
- Your help center’s header or footer.
- Your support widget (enable the Scheduling section under Chatbox Appearance).
- Auto-reply messages that mention your onboarding calls.
- Your Shopify App Store listing page.
Embedding the booking page on your website
You can put the booking flow directly on your own site (a pricing page, a “Talk to sales” page, an onboarding screen) by adding embed=1 to the booking URL and loading it in an iframe. It combines with ?type=:
https://help.yourapp.com/en/book?type=enterprise-demo&embed=1
In embed mode the page drops your help center header, footer, and chat widget, uses a transparent background, and can be framed by any website.
Paste this where you want the booking flow to appear:
<iframe
  id="convot-booking"
  src="https://help.yourapp.com/en/book?type=enterprise-demo&embed=1"
  style="width: 100%; border: 0; min-height: 600px;"
  title="Book a time"
></iframe>
<script>
  window.addEventListener("message", function (e) {
    if (e.data && e.data.type === "convot:booking:height") {
      document.getElementById("convot-booking").style.height = e.data.height + "px";
    }
  });
</script>
The script is optional but recommended: the embedded page sends a convot:booking:height message whenever its content changes size (for example when times load or the customer moves to the booking form), so the iframe grows to fit without an inner scrollbar.
Bookings made through an embed work exactly like bookings on the hosted page. The confirmation screen’s Reschedule or cancel link opens in the full browser window rather than inside the frame.
The Booking section must be turned on under Settings → Apps → [your app] → Public site for the embed to load.
Showing booking in the widget
You can also enable a Book tab in the chat widget:
- Go to Settings → Apps → [your app] → Chatbox → Appearance.
- Under Widget sections, toggle on Scheduling.
- Optionally choose between showing it as its own Book tab or as a section on the Home screen.
- Save.
When the scheduling section is on, customers can book a call without leaving the widget.
Checking your bookings
All bookings - whether made from the public page, the widget, or a booking card in chat - appear in Scheduling → Bookings tab. Filter by upcoming, past, or cancelled.
Next steps
Was this article helpful?
Thanks for your feedback!