
 Knowledge Base
Organizing with Collections
Group your articles into collections (categories) to give your help center a clear structure that customers and the AI agent can navigate.
Collections (called categories in the data model) let you group related articles together. A well-organized knowledge base helps customers find answers faster and gives the AI agent clearer context when retrieving relevant content.
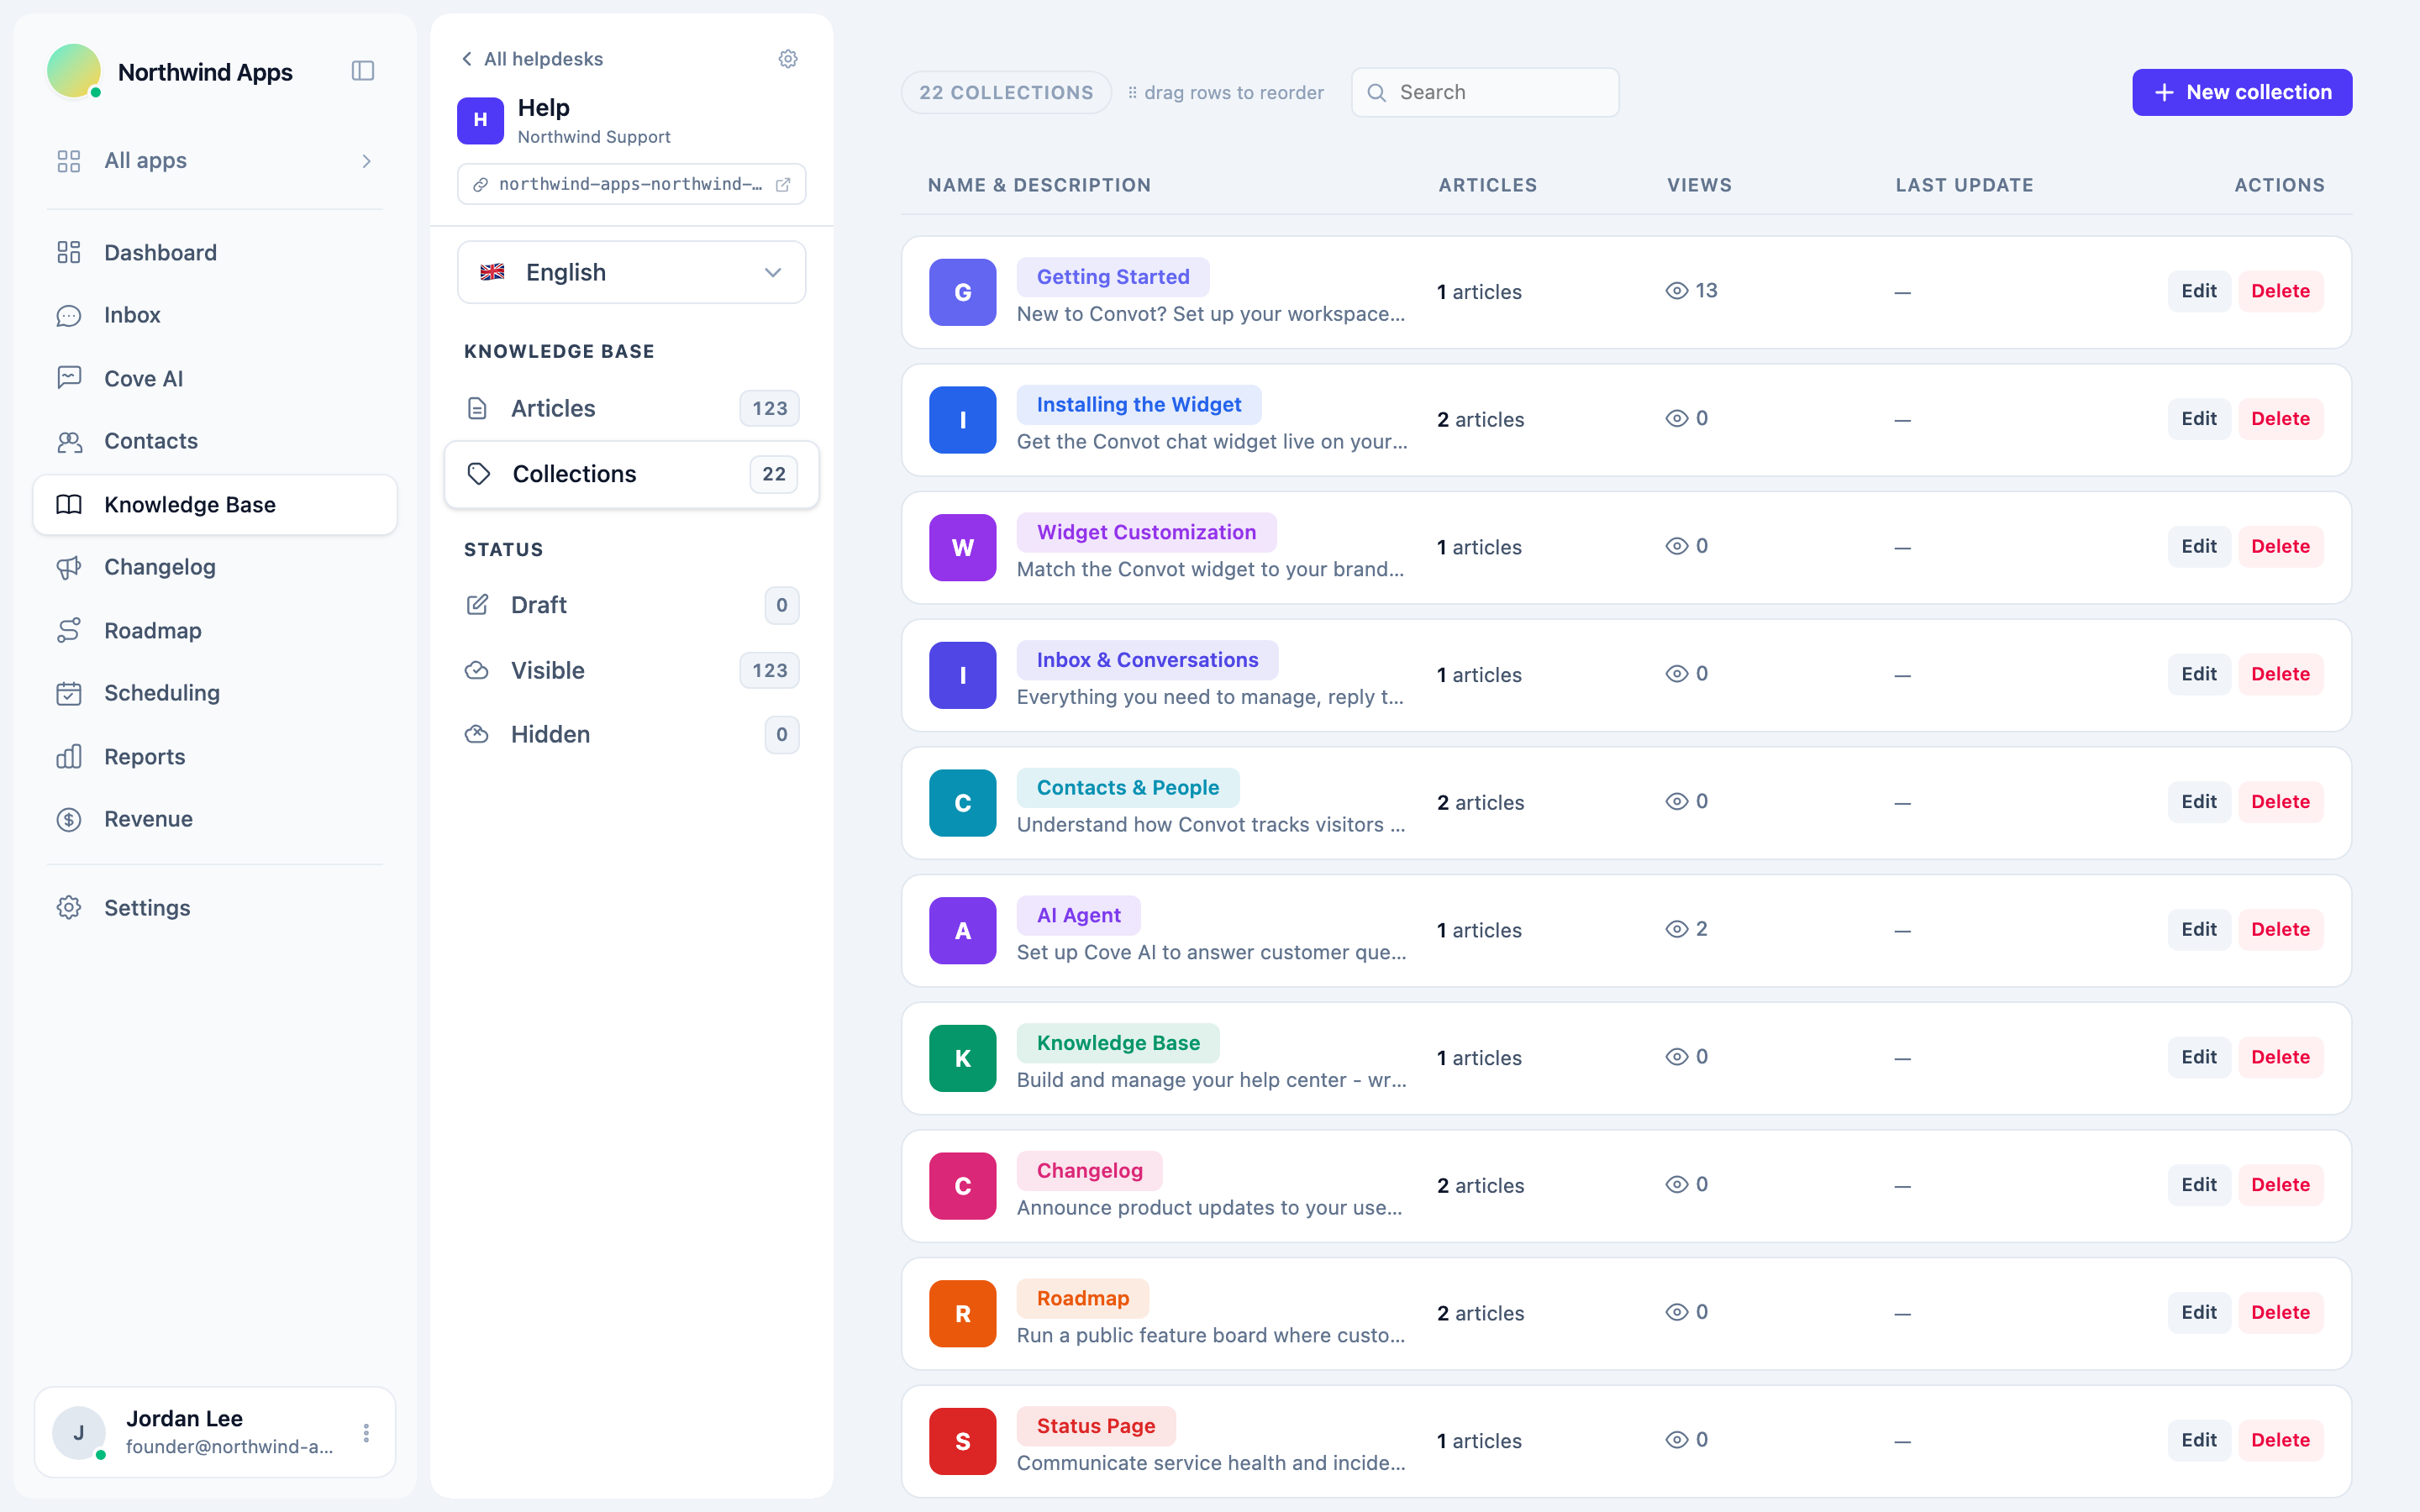
Creating a collection
- Go to Knowledge Base and select your helpdesk.
- Switch to the Collections view using the tab or sidebar link.
- Click + New collection (or the equivalent button).
- Give the collection a name, optional description, and color.
- Save. The collection is empty at first - assign articles to it when creating or editing them.
Assigning articles to a collection
When creating or editing an article, choose a collection from the Collection dropdown in the sidebar. An article can belong to one collection at a time. Articles with no collection assigned appear as “Uncategorized” in the admin list.
Reordering collections
Collections appear in your help center in the order you set. Drag them to reorder in the Collections view. The position is saved immediately.
Reordering articles within a collection
Articles within a collection are sorted by the Position field. Edit an article and change the position number to move it up or down. Lower numbers appear first.
Renaming and deleting collections
Click a collection’s name or the edit icon to rename it or change its description. Deleting a collection does not delete its articles - they move to Uncategorized.
Best practices
- Use broad, customer-facing names (“Getting started”, “Billing”, “Integrations”) rather than internal jargon.
- Aim for 5-15 articles per collection. Too few means a collection is not worth having; too many makes it hard to scan.
- Collections appear on your public help center home page, so the names and order matter to customers.
Was this article helpful?
Thanks for your feedback!