
 Getting Started
Quickstart - go live in 5 minutes
Sign up, set up your workspace, install the chat widget, and send your first reply - the whole flow end to end.
This walks you through everything from signup to your first reply. It takes about five minutes.
1. Sign up and complete onboarding
After you create your account, Convot runs a short 4-step setup:
- Company info - your organization name and website.
- About you - your name, role, and team size.
- Create your first chat - name your app and pick a widget color.
- Install - copy your embed snippet (covered below).
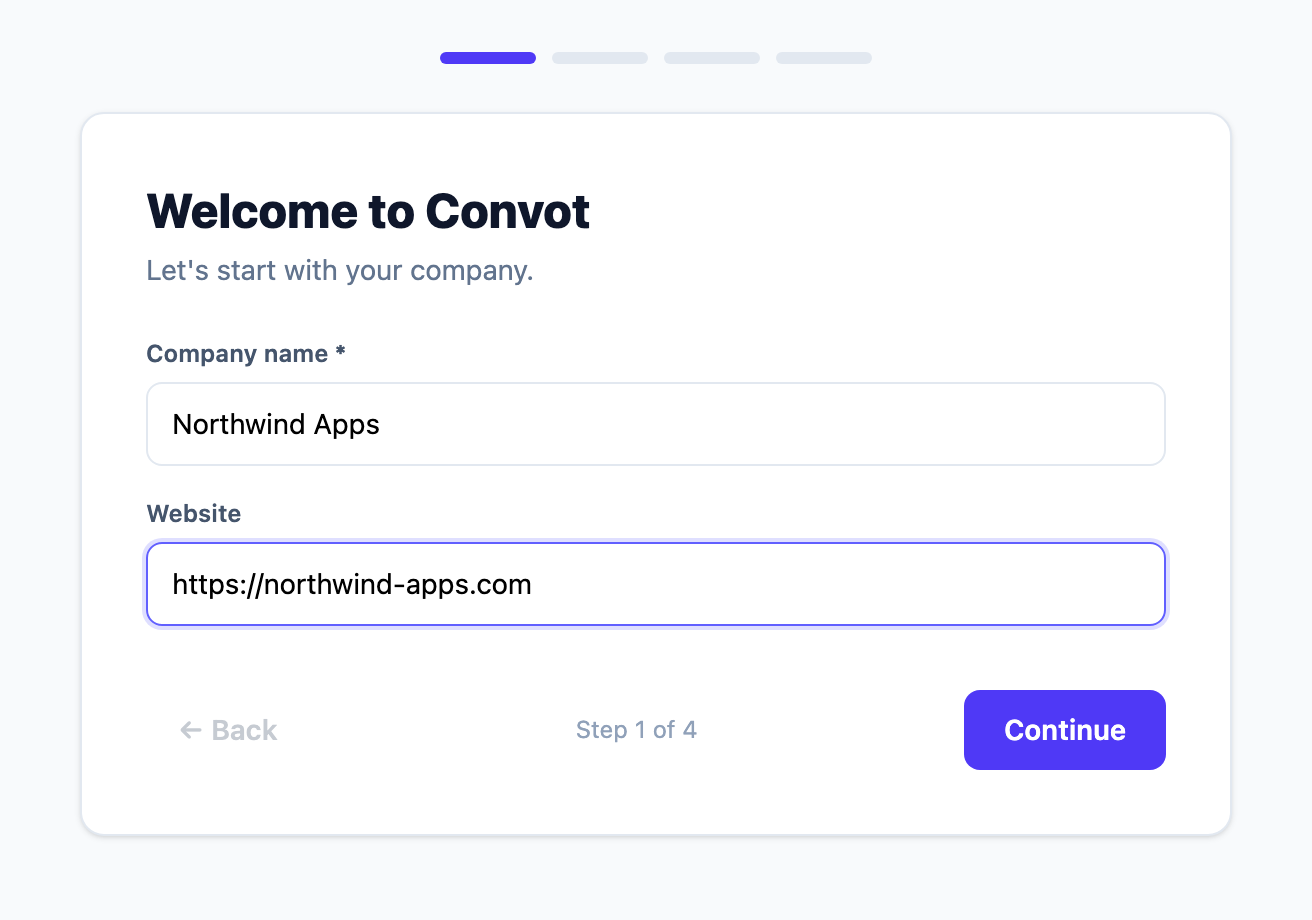
Step 3 creates your first App. An App is one product with its own widget, help center, changelog, and roadmap. You can add more later from Settings → Apps.
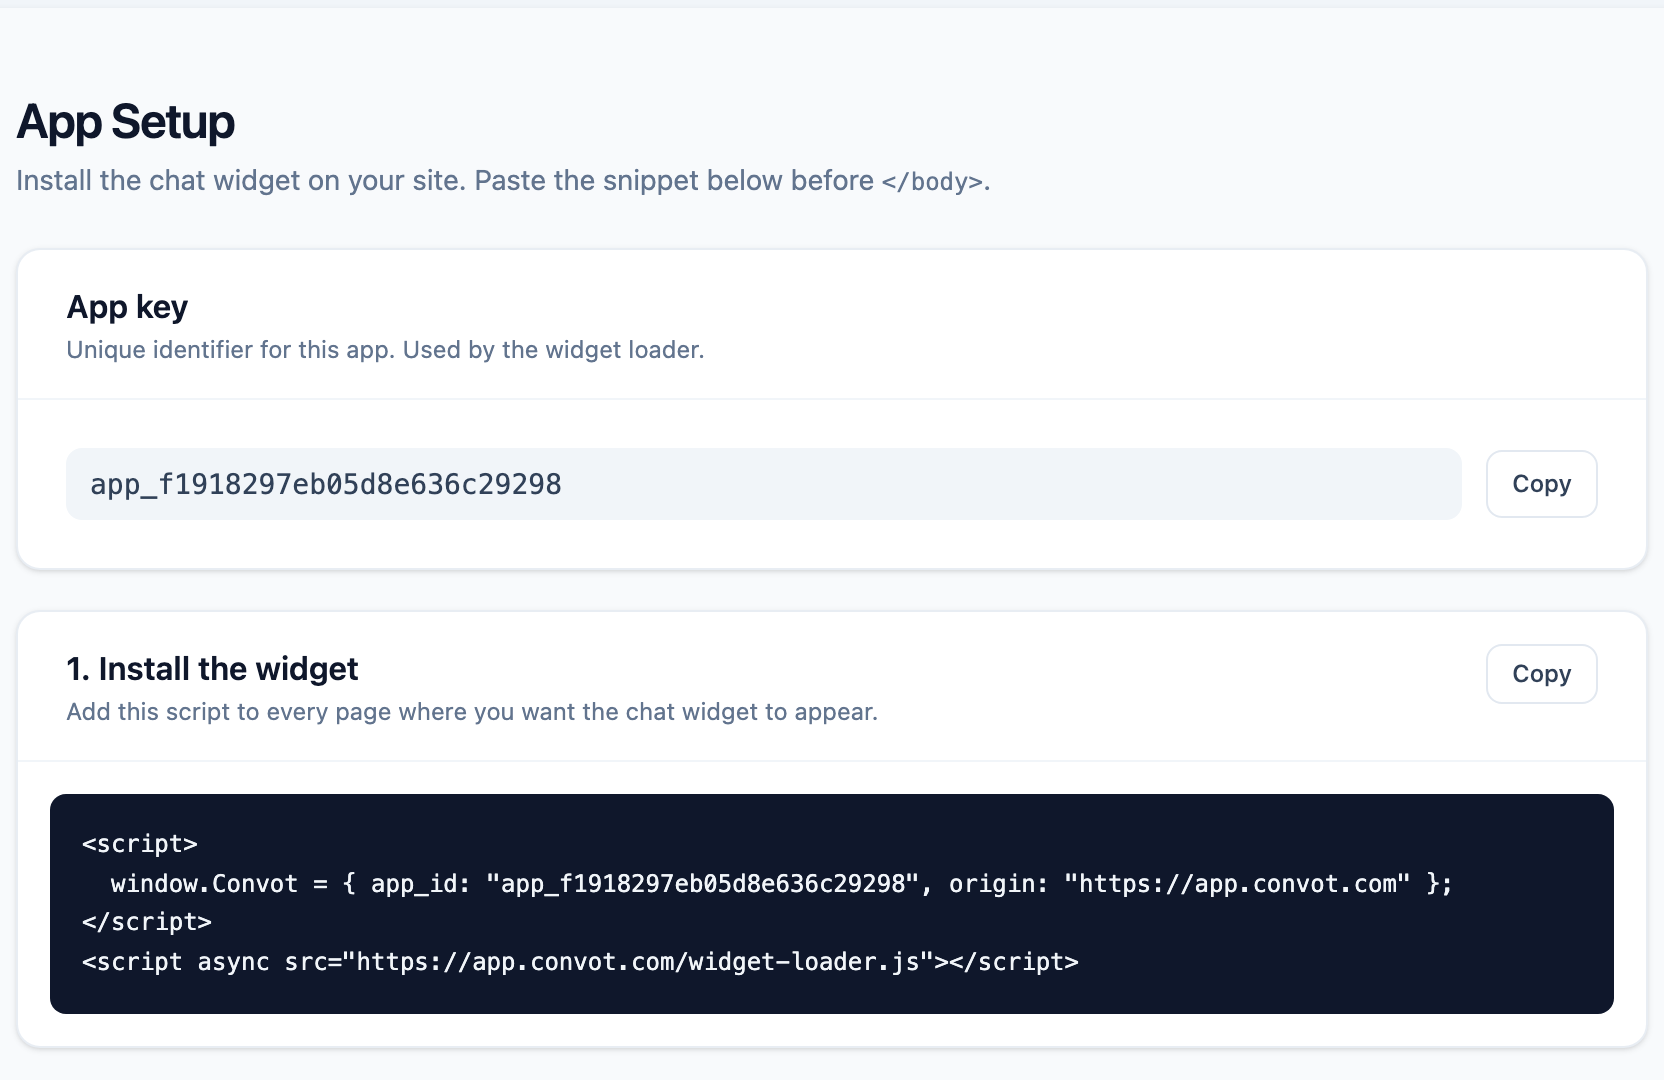
2. Install the widget
At the final step you’ll see your install snippet. Paste it just before the closing </body> tag on your site:
<script>
  window.Convot = { app_id: "YOUR_APP_KEY" };
</script>
<script async src="https://app.convot.com/widget-loader.js"></script>
Your app_id (the App key) is filled in automatically in the snippet shown in your account. You can always find it again under Settings → Apps → [your app] → Setup.
Load your site and you should see the chat bubble appear.
3. Send a test message
Open your site, click the chat bubble, and send a message as a visitor. It lands in your inbox in real time.
4. Reply from your inbox
Go to Chat (/chat) in Convot. Your conversation is at the top of the list. Open it, type in the composer at the bottom, and send. Your reply appears in the visitor’s widget instantly.
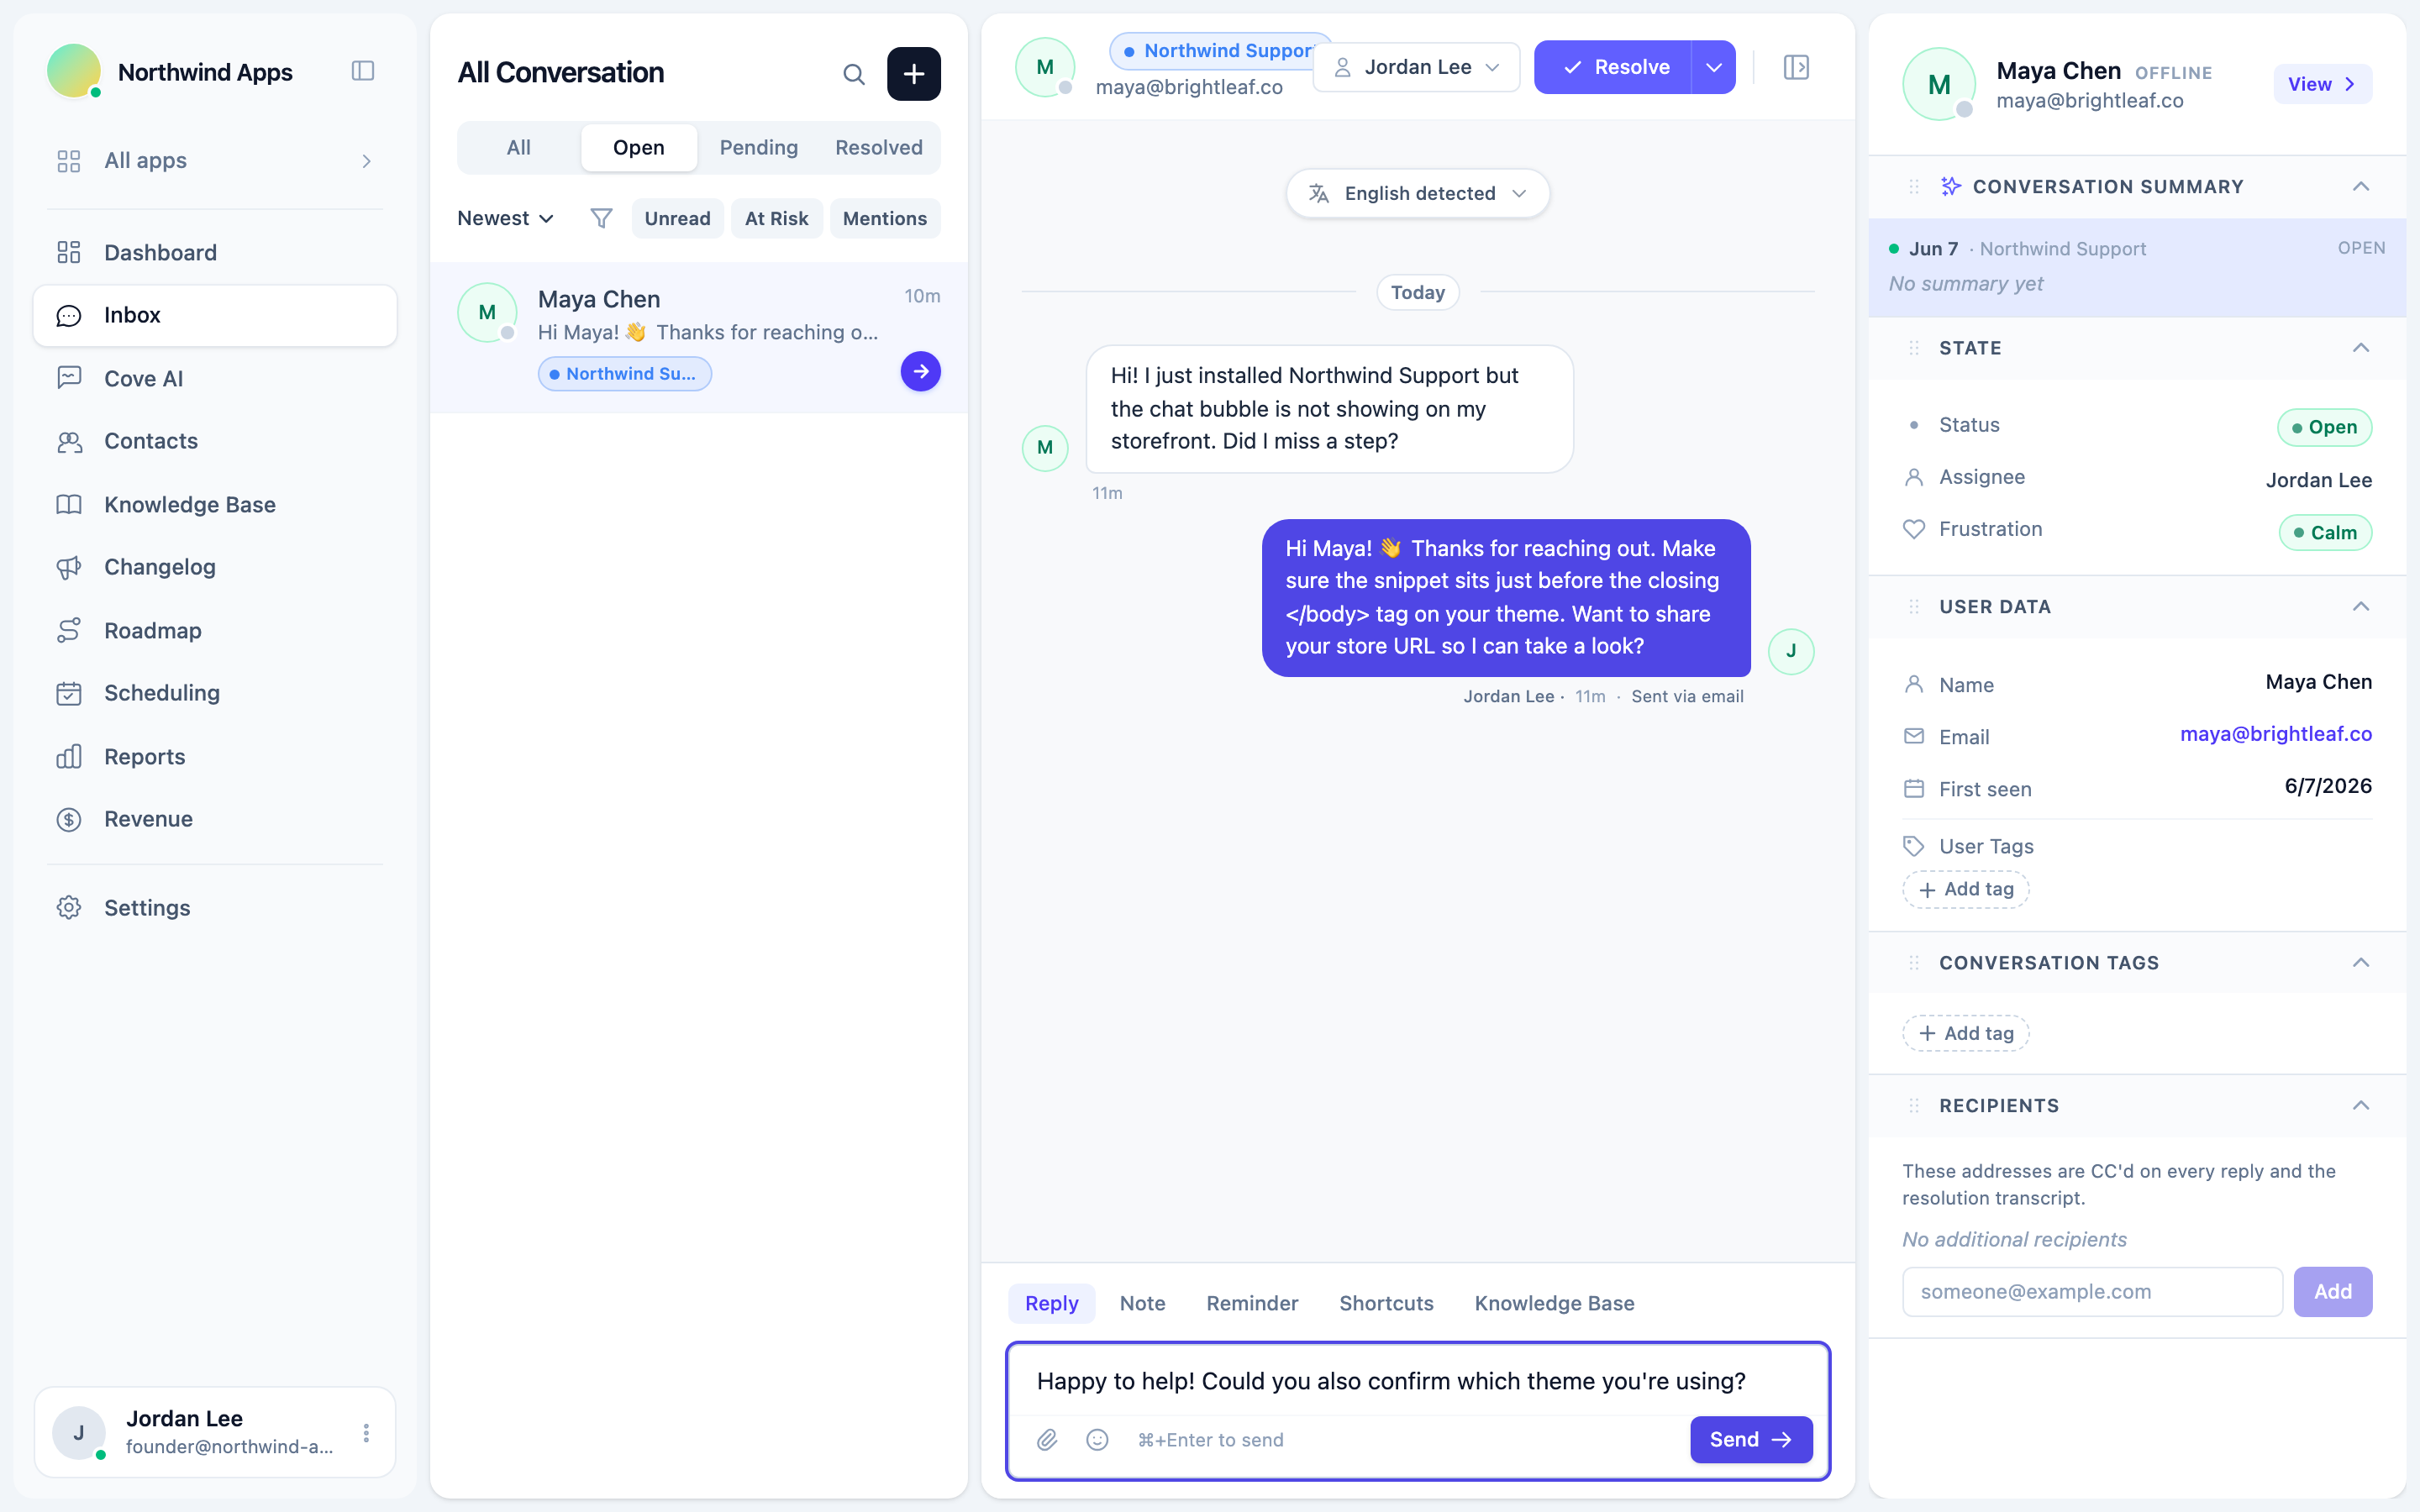
That’s the full loop - a visitor messages you, and you reply. 🎉
What to do next
- Invite your team so others can reply too.
- Customize the widget to match your brand.
- Turn on the AI agent to answer common questions automatically - see the AI Agent collection.
- Choose your channels - help center, changelog, roadmap, and more.
Was this article helpful?
Thanks for your feedback!