
 Installing the Widget
App Webhooks
Send real-time event notifications to your own backend whenever conversations, messages, or contacts change in your Convot app.
Webhooks let you receive an HTTP POST to your own server whenever something happens in your Convot app - a visitor sends a message, a conversation is resolved, a new contact is captured. Each request is signed with HMAC-SHA256 so you can verify it actually came from Convot.
Find webhooks at Settings - Apps - [your app] - App Webhooks.
Creating a webhook
- Go to Settings - Apps - [your app] - App Webhooks.
- Click the Webhook button (top-right).
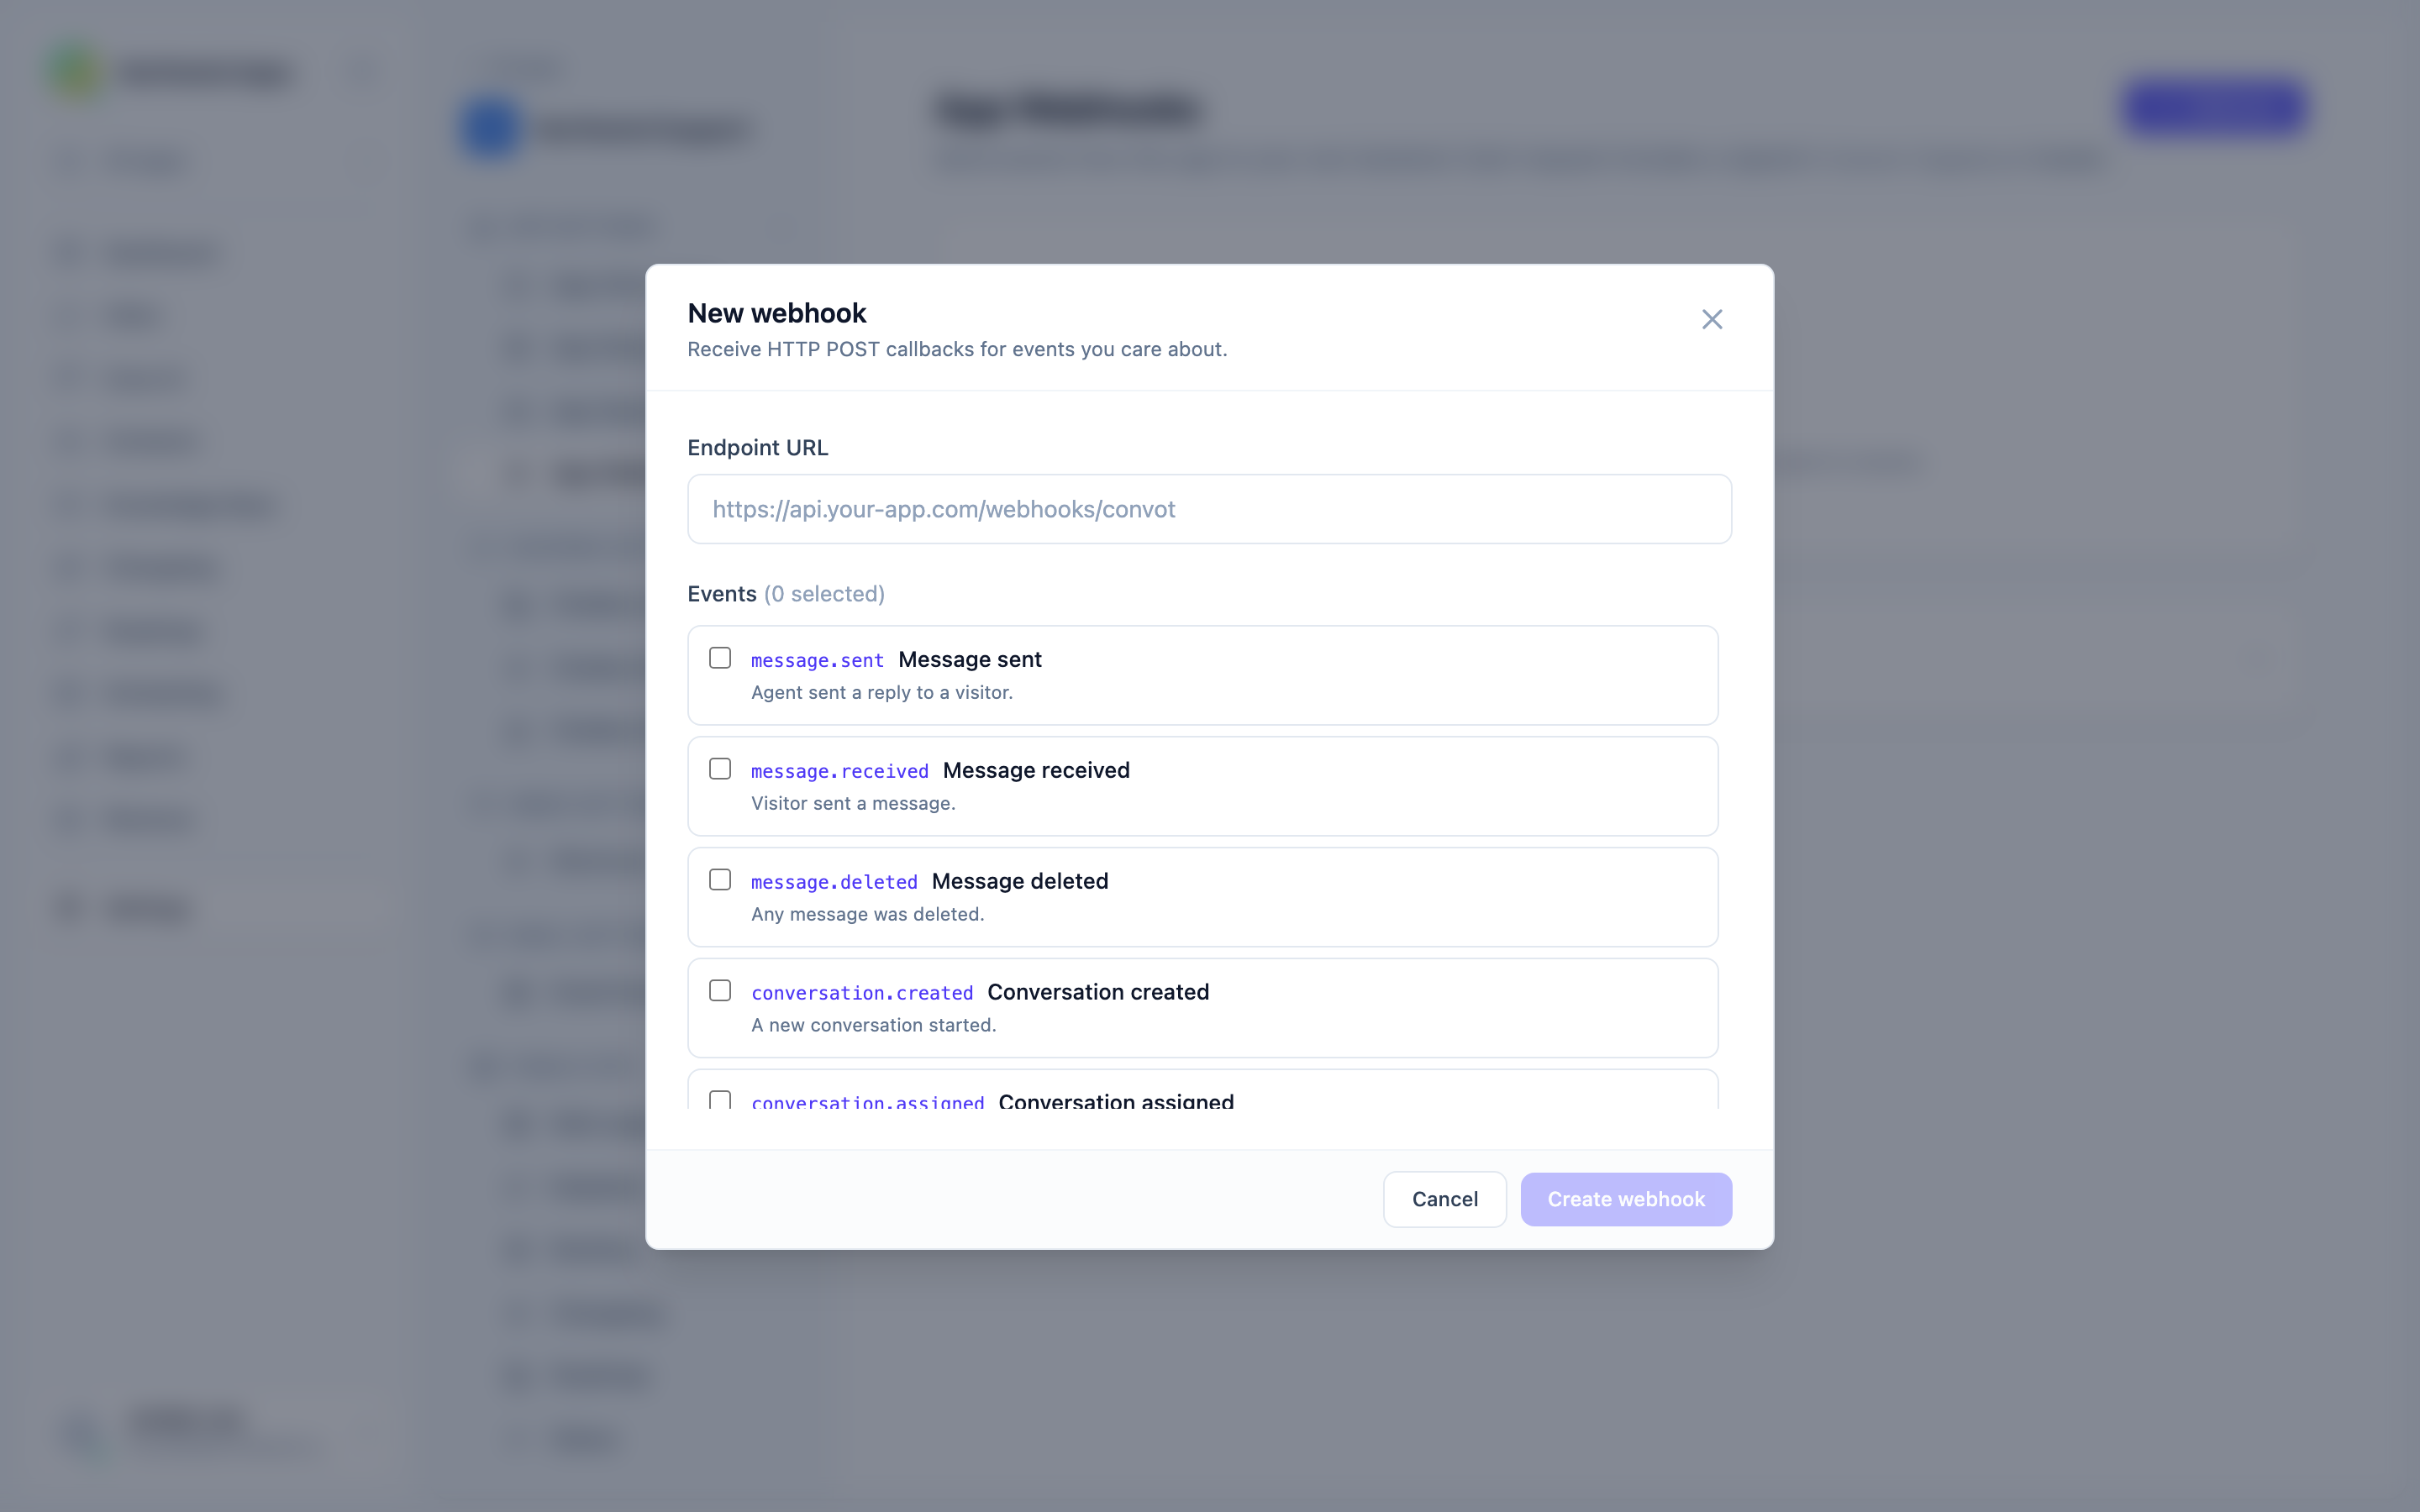
- Enter your Endpoint URL - must start with
https://. - Check every event you want to receive.
- Click Create webhook.
Convot generates a signing secret automatically on creation. You cannot set your own secret.
Events
| Event | When it fires |
|---|---|
message.sent |
An agent sent a reply to a visitor. |
message.received |
A visitor sent a message. |
message.deleted |
Any message was deleted. |
conversation.created |
A new conversation started. |
conversation.assigned |
A conversation was assigned to an agent. |
conversation.resolved |
A conversation was marked as resolved. |
conversation.reopened |
A resolved conversation was reopened. |
contact.created |
A new contact was captured by this app. |
contact.identified |
An anonymous visitor was matched to a known user. |
You can subscribe a single endpoint to any combination of events.
Editing a webhook
Click Edit on any webhook row to open the edit modal. You can change the URL and update the event selection. Click Update webhook to save.
Enabling and disabling a webhook
Each webhook row has a toggle switch. Flipping it on or off enables or disables delivery without deleting the webhook. Disabled webhooks receive no events.
Testing a webhook
Click Test on any webhook row to send a sample message.received event to the endpoint immediately. A green “Test sent” flash appears if the delivery was queued. Use this to confirm your endpoint is reachable and your signature verification code works before going live.
Deleting a webhook
Click the trash icon on any webhook row and confirm the prompt. Deletion is permanent - the webhook and its signing secret are removed and cannot be recovered. The last delivery status shown in the row is also gone.
Signing secret
Each webhook has its own signing secret, formatted as whsec_ followed by 48 hex characters. Click Show to reveal it, then Copy to copy it to your clipboard.
Keep your signing secret out of client-side code and out of version control. Anyone who has the secret can construct a valid signature and forge webhook calls to your server.
The secret cannot be changed after creation. If it is compromised, delete the webhook and create a new one.
Payload format
Every webhook request is an HTTPS POST with:
Content-Type: application/json
User-Agent: Convot-Webhooks/1.0
X-Convot-Event: message.received
X-Convot-Timestamp: 1744540868
X-Convot-Signature: t=1744540868,v1=<hex-hmac-sha256>
Example payload body:
{
  "id": "8b8d2b7e-1d2f-4f3a-9c7a-6b1f2c3a4e5b",
  "event": "message.received",
  "created_at": "2026-04-13T10:21:08Z",
  "app_id": "app_3f9c1a2b4d5e6f7a8b9c0d1e",
  "data": {
    "id": 4821,
    "conversation_id": 219,
    "content": "Hi, I need help with my order",
    "message_type": "incoming",
    "sender_type": "Contact",
    "sender_id": 88,
    "sender_name": "Jane Doe",
    "created_at": "2026-04-13T10:21:08Z"
  }
}
The top-level id is a UUID unique to each delivery. Use it for idempotency.
Verifying the signature
The X-Convot-Signature header contains two parts separated by a comma: t=<unix-timestamp> and v1=<hex>.
The signature is an HMAC-SHA256 of {timestamp}.{raw-body} using your webhook’s signing secret as the key.
Verification algorithm:
- Split the header on
,to gettimestampandsignature. - Reject the request if the timestamp is more than 5 minutes in the past or future (replay protection).
- Compute
HMAC-SHA256(secret, "{timestamp}.{raw_request_body}"). - Compare the result to the
v1=value using a timing-safe comparison.
Node.js:
import express from "express";
import crypto from "crypto";

app.post(
  "/webhooks/convot",
  express.raw({ type: "application/json" }),
  (req, res) => {
    const sigHeader = req.header("X-Convot-Signature") || "";
    const [tPart, v1Part] = sigHeader.split(",");
    const timestamp = (tPart || "").split("=")[1];
    const signature = (v1Part || "").split("=")[1];

    if (!timestamp || Math.abs(Date.now() / 1000 - Number(timestamp)) > 300) {
      return res.status(400).send("stale");
    }

    const expected = crypto
      .createHmac("sha256", process.env.CONVOT_WEBHOOK_SECRET)
      .update(`${timestamp}.${req.body}`)
      .digest("hex");

    if (!crypto.timingSafeEqual(Buffer.from(expected), Buffer.from(signature))) {
      return res.status(401).send("bad signature");
    }

    const payload = JSON.parse(req.body);
    // process payload...
    res.sendStatus(200);
  }
);
Ruby on Rails:
class WebhooksController < ApplicationController
  skip_before_action :verify_authenticity_token

  def convot
    raw_body = request.body.read
    sig_header = request.headers["X-Convot-Signature"].to_s
    timestamp  = sig_header[/t=([^,]+)/, 1]
    signature  = sig_header[/v1=([^,]+)/, 1]

    if timestamp.nil? || (Time.now.to_i - timestamp.to_i).abs > 300
      return head :bad_request
    end

    expected = OpenSSL::HMAC.hexdigest(
      "SHA256",
      ENV.fetch("CONVOT_WEBHOOK_SECRET"),
      "#{timestamp}.#{raw_body}"
    )

    unless ActiveSupport::SecurityUtils.secure_compare(expected, signature.to_s)
      return head :unauthorized
    end

    payload = JSON.parse(raw_body)
    # process payload...
    head :ok
  end
end
Use express.raw() in Node.js (not express.json()) to get the raw bytes needed for HMAC. Parsing the body as JSON before hashing will produce a different signature.
Retries and response requirements
Respond with any 2xx status within 10 seconds. Any other response (non-2xx, timeout, or connection error) is treated as a failure and triggers automatic retries with exponential backoff.
| Best practice | Why |
|---|---|
Respond 200 immediately, then process asynchronously. |
Prevents timeouts on slow processing paths. |
Deduplicate on the top-level id field. |
The same event may arrive more than once on retry. |
| Use HTTPS only. | The secret is transmitted in a signed header - use TLS in production. |
Delivery status
The last HTTP status code returned by your endpoint is shown on the webhook row. A green “2xx OK” badge means the last delivery succeeded. A red “Failed” badge with the status code means it did not. Use Test to trigger a new delivery and see the result.
Next steps
- App Key and Identity Secret - the other app credential (HMAC identity verification for visitors).
- Widget JavaScript API - client-side event listeners for the same events in the browser.
Was this article helpful?
Thanks for your feedback!